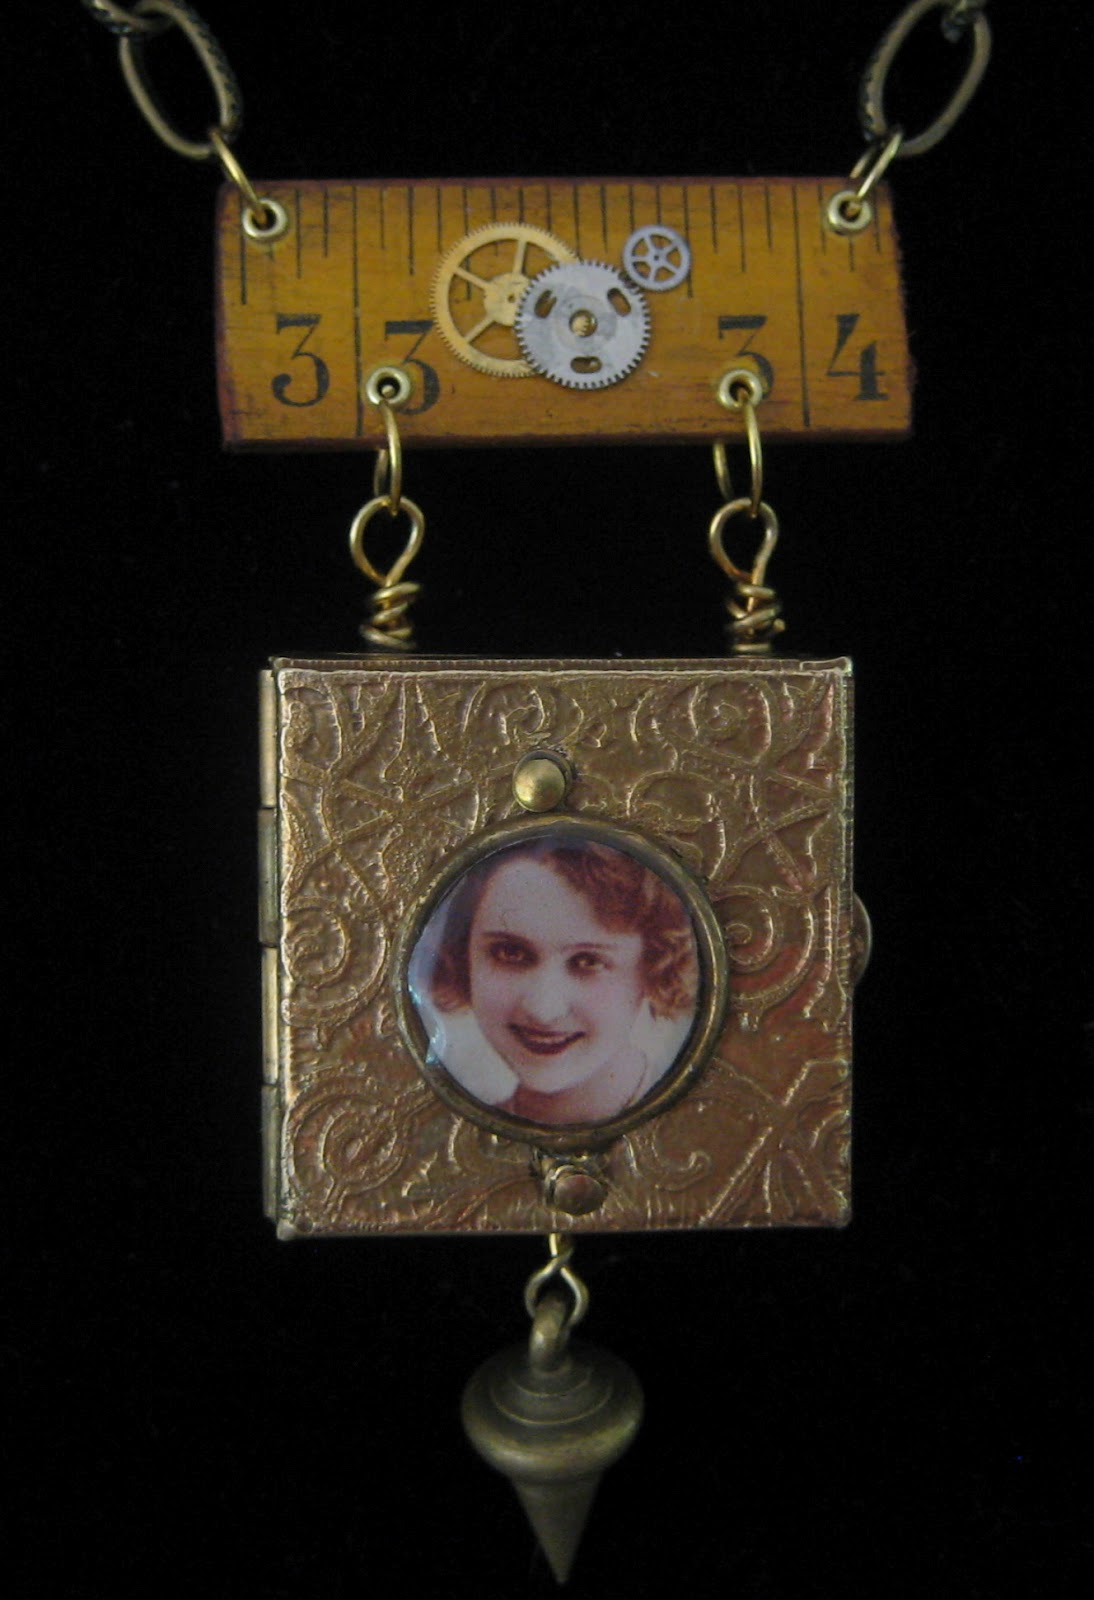
Hi Everyone! Today I'm going to show you how to make this lovely keepsake necklace while showing you how to use the new
Vintaj Metal Patinas and Glaze!
..........................................................................
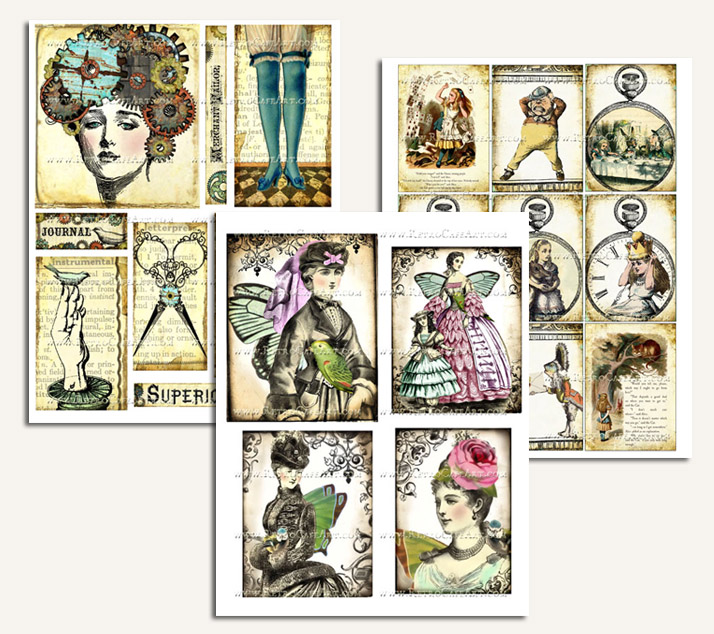
First, you will need a collage image shrunk down to 15mm or any photo, ephemera bit, etc. that you would like to use. You can place your
15mm Crystal Clear Cabochon on top to see how it will look. I'm using the Lovely
Land of Enchantment Collage Sheet DP103.
..........................................................................
Peel off one side of the crystal clear double sided
Incredi-sheet paper backing. This tape is the best!
..........................................................................
Press the flat side of your
cabochon onto the exposed adhesive.
..........................................................................
Cut around your cabochon.
..........................................................................
Peel off the second second paper backing and you now have a cabochon "sticker" ready to stick anywhere! (this is also great for adhering to mixed media and collage pieces).
..........................................................................
Place your cabochon on your image and press down. Be sure it's where you want it as it's permanent and not repositionable. If you do happen to make a mistake, you can soak your piece in warm soapy water overnight and then start again. As an alternate method, you can also attach your cabochons to your images using
Diamond Glaze, Glossy Accents, or a similar product.
..........................................................................
Cut around your cabochon.
..........................................................................
Burnish the back of your piece using a bone folder or something similar to ensure your piece is nice and stuck.
..........................................................................
Easy and no mess!
I did an
acrylic charm tutorial a while back using this same method. You can view it
here.
..........................................................................
Now for the fun fun part! Colorizing the Perfume bottle using the
Vintaj Patinas!
..........................................................................
You'll find that the bottle has a wonderful, fine precision tip. You can squeeze the Patina directly onto your piece, or add it using a paint brush and/or your fingers. I pretty much use my fingers for all art mediums. I squeezed a bit of each color onto a paper plate.
..........................................................................
I started with a base coat of purple. I was surprised and delighted by the opaque coverage with just one coat. Ranger refers to this as an "ink", but the consistency and color is more like a runny paint. I was very pleased with the results! It does dry fairly fast, so I had to work quick. The Patina can be layered however, so just add more if you aren't satisfied.
..........................................................................
I added a few layers, blending with my finger until I was happy. I also added a touch of water while blending. This gave me a bit more time to work.
..........................................................................
Next came the
Glaze. While the Patina seemed pretty durable without the glaze, I wanted to try it out. The bottle says you can use it as an extender and mix it with the Patina prior to applying, however I decided to use it more as a sealer. I simply rubbed it on with my finger. It also seems like a spray acrylic sealer such as Krylon would do the trick, especially if you want more of a matte look. The Glaze is somewhat glossy. You can also use the Glaze to seal metal (without the Patina).
..........................................................................
I also added a bit of the Patina to the brass accent beads on the chain. They looked like cute little eggs.
..........................................................................
Back to our cabochon. Attach your finished cabochon to the brass setting using a strong glue such as
E6000. It's not a bad idea to seal the back of your image using
Diamond Glaze, Gloss Accents, or
Mod Podge first. This will ensure that the E6000 doesn't seep through or turn your images yellowish at all (that has happened to me before!). Once dry, attach the back of your brass setting to your bottle with a strong glue such as E6000.
..........................................................................
The Perfume bottle already comes with 2 jump rings attached. Simply open them up using some jewelry plies and attach to each end of the chain! The chain is long enough to slip over the head, no clasps needed, though you could add one if you wish.
..........................................................................
Finished! The top does unscrew from the bottle, so if you would like, you can fill it with perfume, scented oils, glitter, flower petals, etc.
..........................................................................
I wanted to play a bit more and show you how awesome the Patina is on raw
brass charms and stampings. Here we have some
cherubs and
sweet brass wings.
..........................................................................
I added some of the Patina using a quick swipe of my finger. I used one color on the middle two, and blended on the top and bottom charm. On the wings I used all three colors from the
Victorian Gable collection. Such an EASY way to add a lovely patina. So what if you want a darker, grungier look?
..........................................................................
I thought I would try some
Black Gilders Paste on my pieces to make them even more "aged".
..........................................................................
I was thrilled with the results! I simply rubbed some of the
Black Gilders Paste on the raised areas with my finger. How cool would these look on an ATC or jewelry piece! Try adding the other
Gilders Paste colors too. Maybe some Gold or Silver! Just think of all the fabulous charms you could make!
..........................................................................
Ahhh.... these made me think of colorful pegasus wings!
..........................................................................

That's it for me! I hope you enjoyed this tutorial!
..........................................................................
..........................................................................
Supplies:
15mm Antique Brass Lace Setting
(You can also get the necklace components as a
Kit)