Friday, March 15, 2013

Oh My Moon and Stars!


Happy Friday! We have some fantastic NEW goods in the shop for you! What you see above plus many many more! 


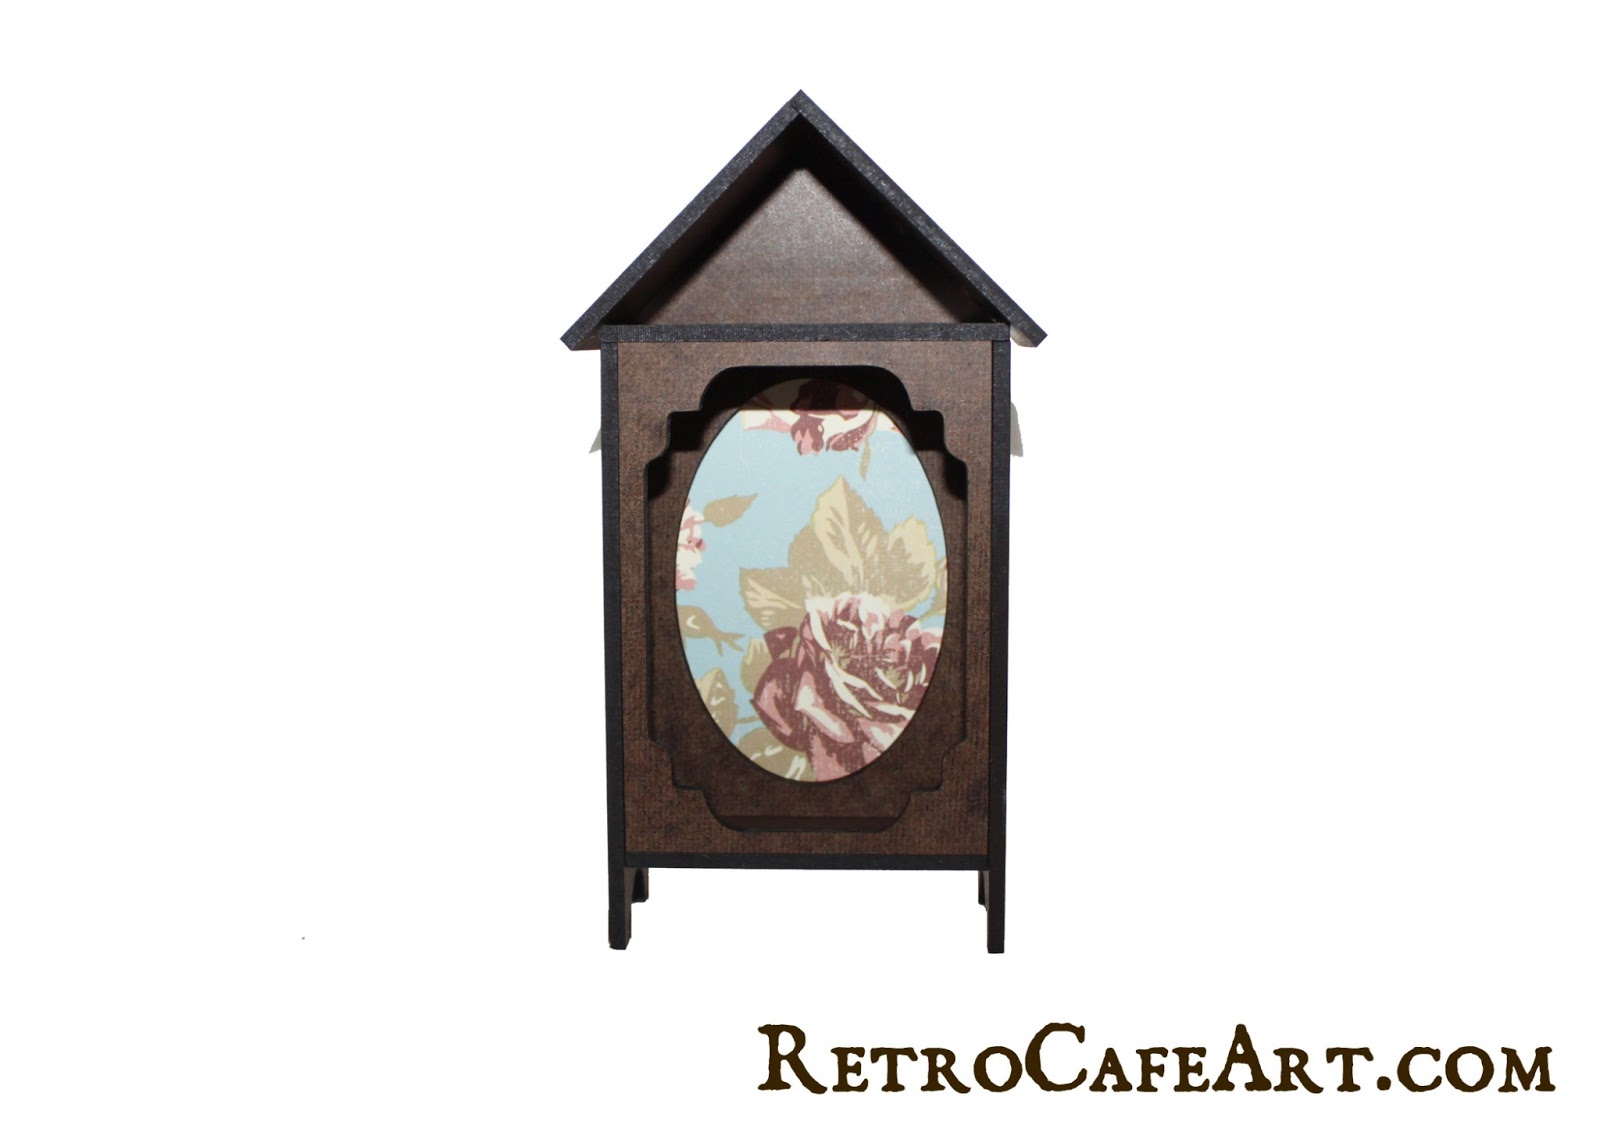
I know you are loving our Mini House Shrine Kits, and I thought why not merge them with our Hutch Shrine Kits? And voila!


I was simply over the moon excited to play with our new Moon Shrine Kit!


I found the Theatre Character Stands very handy to add my owl. I simply painted one the same color as my shrine and glued in my Owl Paper Cut! (my glue was still wet in the photo but dried clear. I'm sure you were worried. lol)


I was really happy with the way my background turned out. First I painted the whole thing aqua with acrylic paint. Then I dry brushed some white paint over the aqua in certain areas. Already looks very moon like! Next it was time for the crackle. I ADORE the Deco Arts Two Step Crackle. It's very easy to use. Simply follow the instructions on the bottles. The crackle you get will be clear, so the under color shows through. To highlight the cracks I simply brushed on some brown acrylic paint and then with a semi-moist paper towel rubbed it off so the paint would remain in just the cracks! Other colors such as gold, silver, or black would look cool in the cracks as well.


It was fun adding a charm dangle and some fibers. Not something I get to do often.


Here is a close-up of the crackle. Yummy right?

"Shoot for the moon and if you miss you will still be among the stars." - Les Brown


I also had a blast playing with our new Star Shrine Kit! 


For this shrine I stared by covering the whole thing with decorative papers. I stamped the inside (before assembling the pieces) and then dry brushed some white acrylic paint here and there. I stenciled on some stars and then attached my bits to the inside. To give the crown a lovely chippy look, I painted it and then sanded it in certain areas to reveal the dark masonite underneath. Finally I tried out the new Viva Pearl Pens. I must say they were super easy to used and I loved the results! They also dried really quickly!


There are plenty of other New Goodies in the shop too!


I'm also extremely excited to welcome the talented Amy Nieman to the Retro Cafe Art Gallery Design Team! Amy created this postcard using Collage Sheet DP267. Don't you just love her fun, colorful work? We sure do and you can look forward to lots more. Welcome Amy! xo

Tuesday, March 12, 2013

Easter Goodness!


Spring and Easter are just around the corner, so to celebrate I have this Free "Spring Love" digital collage sheet for you! Download the sheet from our site HERE. Happy Spring!


And speaking of Spring love, check out this amazing theatre using our Ornate Medium Theatre Shrine Kit created by the talented Virgina Smith. Isn't it just stunning? Thank you for letting me share Virginia!

Tuesday, March 5, 2013

Mini House Shrine Swap + New Goodies


Hi everyone! I'm excited to announce all the fantastic NEW goodies in the shop! Mini House Shrine Kits, Vintage Ruler Charms, and yes, even a Shrine Kit made from vintage rulers! Too much fun.


I couldn't wait to get started making some little houses. They are the center of our latest SWAP too!


To make mine, I started by assembling the houses and then I spray painted them white for a nice base coat. For my tall ruler house, I used Washi Tape on the sides (so easy!), stamped the back, and used vintage ledger paper for the roof. On the inside I added my Charlotte with the word "grown" (I covered the text with diamond glaze to protect), a bit of moss, and the glued the vintage ruler charm to the front. To create my second house I used several colors of acrylic paint applied with q-tips. The roof is my favorite part. I attached 2 vintage postage stamps and then covered them in diamond glaze (several coats) to harden. Finally I attached my assemblage bits and added mini dice for feet (my favorite part!). These were so easy and took just over an hour to create. I can't wait to make more for the SWAP!


Loved that the mini dice just happened to match the stamps!


I had so much fun making my houses that I knew you would love it too, so we are hosting a Mini House Shrine Art Swap. 
New to making shrines or assemblages but wanted to give it a try? This is the perfect project to start with, so give it a shot! Seasoned shrine maker? Then this swap is right up your alley. The possibilities for these houses are limitless. You can get all the details for the Art Swap HERE

Friday, February 15, 2013

New Shrine Kits & More!


Happy Friday everyone! I  have some lovely new goodies to share with you. My favorite are our four NEW Shrine Kits. They start off pretty simple, but what is awesome about these shrines, is that they can be transformed using any of our ATC Frames or ATC Arches. The frames fit right inside. You can attach them to the inside front, add them to the back, or both! The two Box Shrine Kits are also designed for adding Box Feet!


Same Shrines, different fronts via ATC Frames! The possibilities are endless! And the frames fit perfectly. I didn't even have to glue them in for the photos.


You can also add a frame to the front and back for a really unique look.


Also very sweet with the frames to the back.


Even the Layered Chipboard ATC frames look cool. Really endless possibilities.


And speaking of Shrines, how about some gorgeous samples? The above Shrine was created by Design Team Member Gerri Herbst using the Heart Shelf Shrine, Red Stickles, and an Alice in Wonderland Paper Cut. So awesome Gerri! This just makes me smile!


And this beautiful Shrine was created by Lindy Vogt using the Large Exquisite Shrine Kit, Valentine Word Cut Outs, Collage Sheet CV90, Filigree Heart, and Paper Roses. So sweet and romantic Lindy! Thank you so much for sharing!


In addition to the new Shrines, there are several other fabulous new goodies. You can check them all out HERE. Have a wonderful, creative weekend! I know my head is spinning with ideas! xoxo

Friday, February 8, 2013

NEW Goods, Peerless Water Colors, and Bust Fun!


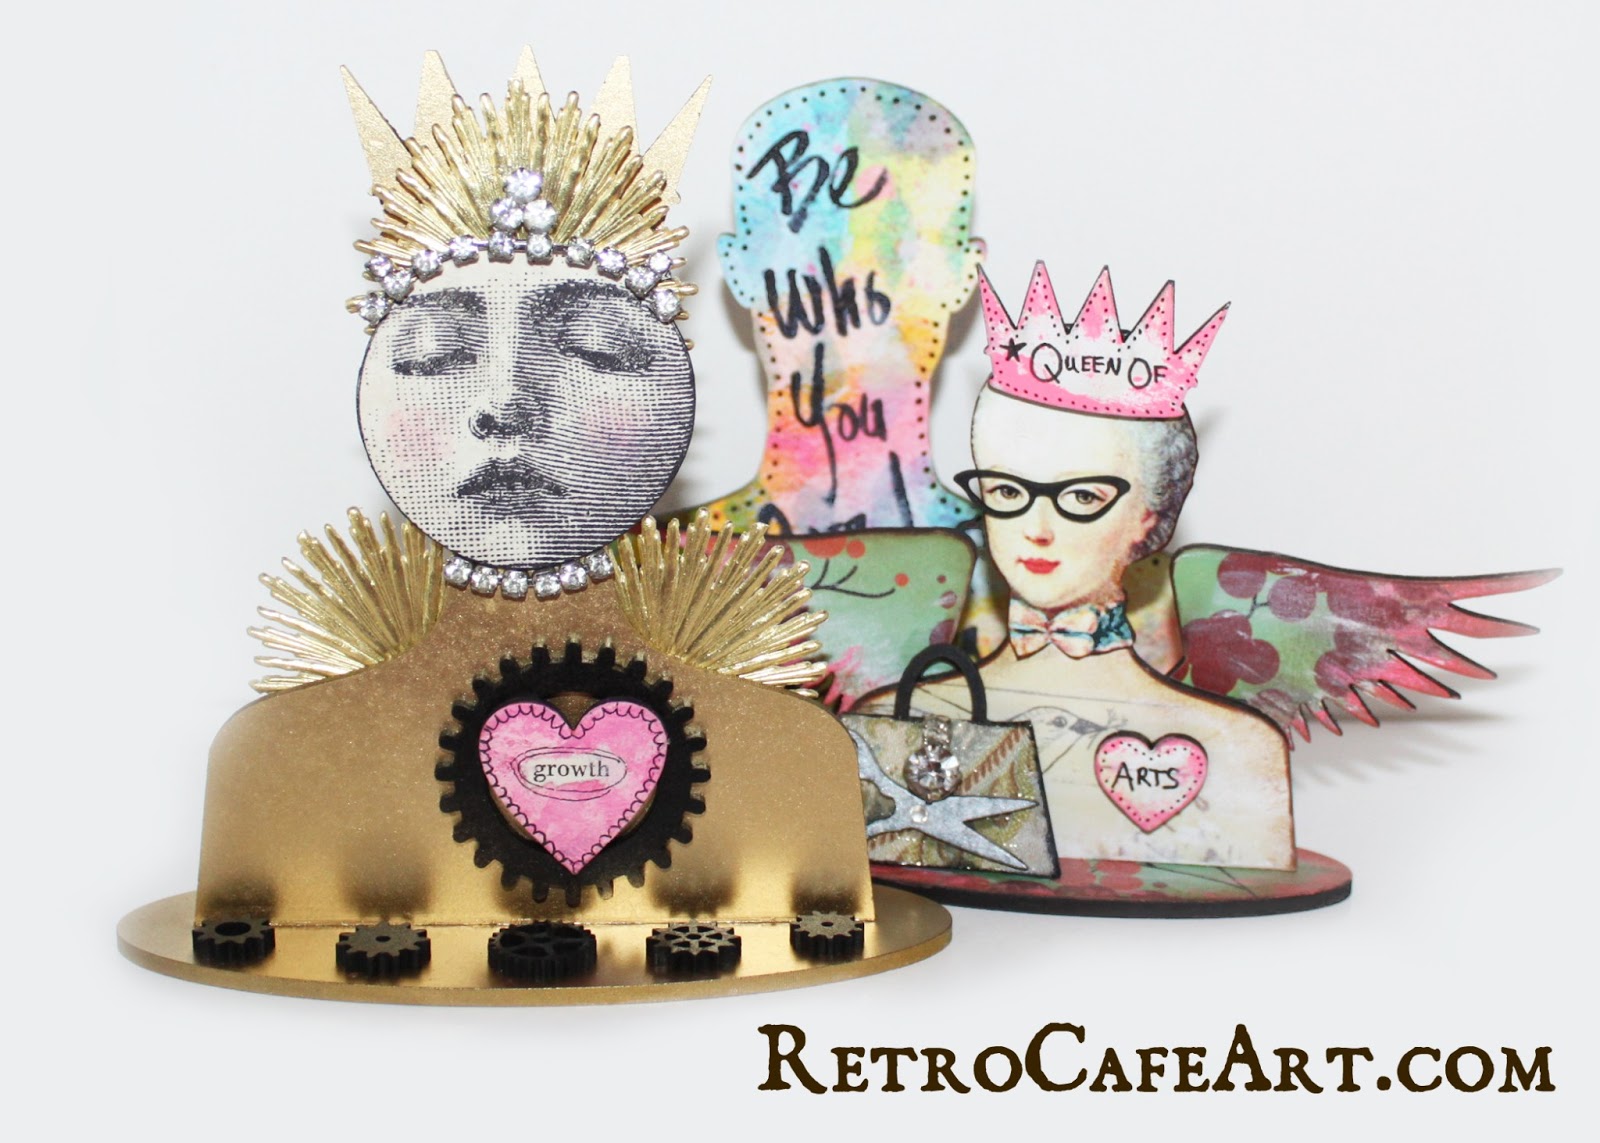
Hi Everyone! I hope you are having a great February so far! I have some NEW GOODS to tell you about but first I want to show you a few things I've been making in the studio. Lately I've been having a blast playing with our Female and Male Stand Up Busts. I wanted to challenge myself to create them in several different styles. So we have "Abstract/Journaling", "Collage", and "Stamping" (or at least that was what I was going for!).


For the "Abstract/Journaling" Bust I started with an Extra Large Male Bust. I simply traced out some watercolor paper to fit the bust and stand and then I went to town using the NEW Peerless Watercolors Complete Edition Book and a Detailer Waterbrush. Next I did a bit of stenciling using the Small Diamond Stencil and added a touch of white acrylic paint here and there. Finally I used a black Sharpie Paint Marker for my text and doodling and attached the pieces to the Bust using Mod Podge. Easy!


For my "Collage" Bust I started with the Large Female Bust. First, I fussy cut the Marie Antoinette Head from the Beautiful Marie Collage Sheet to cover the head. Then I covered the other pieces with papers, fabric, and a bit of white acrylic paint. I added some Large Masonite Wing Cut-Outs, Glasses Cut-Outs, Purse Cut-Outs, and Scissors Cut-Outs. The crown and heart come with the Bust. "Queen of Arts" indeed!


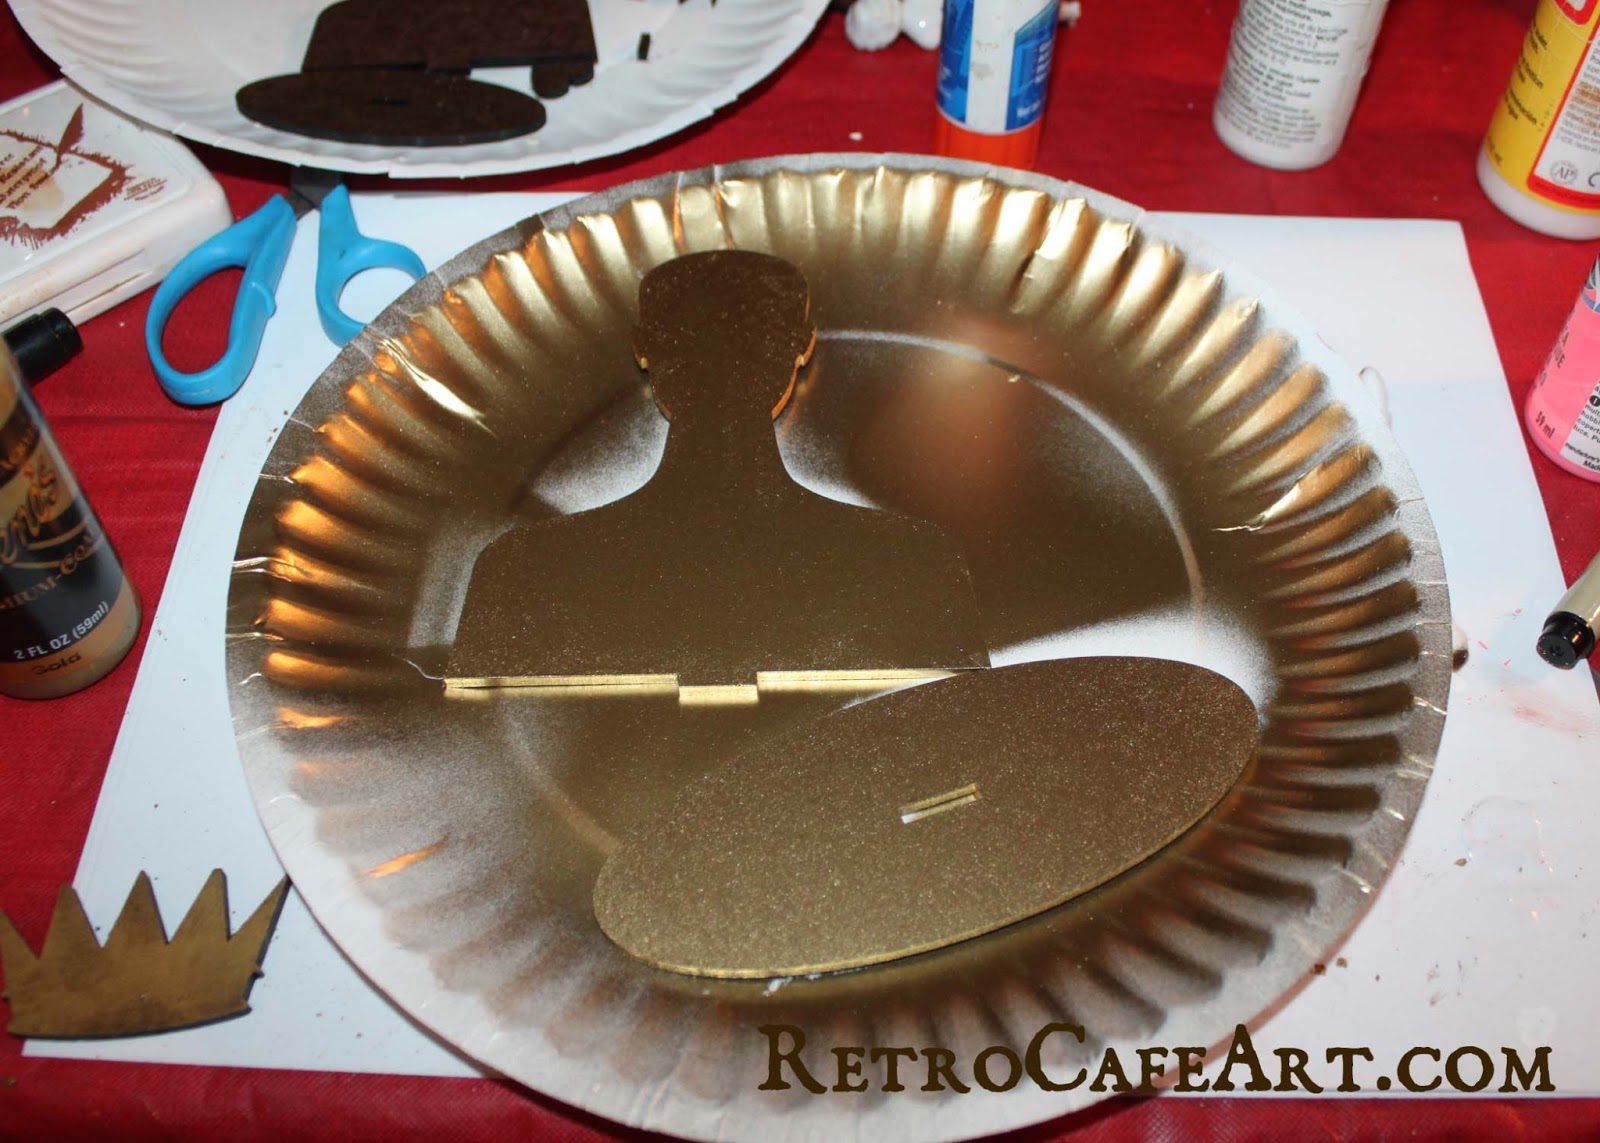
Finally for my "Stamping" Bust I started with the Extra Large Female Bust. First I used Rustoleum Gold Metallic Spray Paint (this stuff is the bomb) on all of my pieces. Next I stamped a face, cut out of cardstock, and colored the cheeks with a pink colored pencil. To embellish I used the Steampunk Gears II and Mini Steampunk Gears II spray painted black, Large Gold Halo Dresden (love the way this turned out) and some vintage rhinestone bits, all attached with E6000. The heart is painted with acrylic paints, collaged, and doodled with a black Micron pen.


Love the Rustoleum Spary Paint. Just look at that shine!


On my Bust above I used our NEW Peerless Watercolors. I also started this journal page background using Peerless Watercolors and a Broad Waterbrush. Just look at those BRIGHT and VIBRANT colors. And with the Waterbrush they are so easy to use. Just squeeze the brush a bit to release some water, pick up some color from the sheets, and blend/squeeze as you paint. You control how much water and how much blending. And between colors just squeeze the brush onto a paper towel and wipe! It comes perfectly clean each time and the whole set up is SUPER portable for journaling on the go. I'm smitten for sure!


And on to even MORE new goods. New Shrine Kits! Are they dolls? Are they Shrines? YES! I'm super excited about our brand new Articulated Doll Shrine Kits in both Male and Female. They are super easy to assemble and yes the specialty brads are included too! They hang on the wall and you can pose them as you please. You can use any of the above Bust techniques on them too!


And give us a hand! Yes, NEW Hand Shrine Kits in two styles. They are a great size, just about the size of an average adult hand. And ready to hang on the wall with the built in hanger! I would love a whole wall of these in different styles. You could include a personalized photo and use them to honor a loved one (pets included!).


Pheeww... that was a lot of awesome. In honor of Valentine's Day next week, you must have a look at the Vintage Valentine's Day Shrine created by Design Team Member Linda Cain using our Adore Shrine Kit. Isn't it fabulous! Hop on over to Linda's Blog for more photos and a complete tutorial!


And if you participated in our Valentine's Day Heart Book Swap or ATC swap, all returns have been mailed and should arrive any day. I loved having so many people as my Valentine this year :).

Have a great weekend and don't forget to check out all the other NEW GOODS not mentioned here! xoxo

Friday, January 25, 2013

A Valentine's Day Gift For YOU!


Because we LOVE you here at Retro Cafe Art Gallery, download this FREE Valentine's Day Digital Collage Sheet HERE on our site! This might just be one of my favorites thus far!


And speaking of things I love, check out the Brand New Goodies just listed. This Antique Ledger Paper from the 1800's is divine!


Oh, and even more GORGEOUS hearts! Go see what Design Team Member Linda Cain made with our Extra Large Heart Stand-Ups, Cupids, Winged Hearts, Heart Mix (and more)! There is a full tutorial HERE on Linda's blog!


xoxo

Monday, January 14, 2013

Merry Go Round and Round!


Happy Monday everyone! I have some LOVELY Victorian Exploding Picture Box Carousels to share with you! This stunning piece is by Design Team Member Linda Cain! Isn't it just fabulous? Linda has shared several how-tos, photos, and even a short video on her blog. Go HERE to see more of her masterpiece!


............................................................................


This one I created around the holidays!


It was very easy and fun to create! I simply spray painted the entire box white. Then painted contrasting panels with aqua acrylic paint. I added some doodling using some fun Coffee Break Design Stencils, and finally attached some German Dresden and Circus paper cuts. The tiny flag is made from a toothpick and Washi Tape!


On the inside I did some very basic stamping using black archival ink.


And filled it with Truffles! Yum!


If you missed my first Carousel Box, you can find the post HERE. And watch the last image closely, it turns!

There's still time to get involved in our Valentine's Day Swaps and of course there are lots of New Goodies in the shop for you to play with! xoxo

Wednesday, January 9, 2013

Linda's Steampunk Theatre, FUN Announcement, and NEW GOODS!


Happy New Year everyone! It's already been a busy, creative, and exciting 2013 over here! The first thing I would love to share is the STUNNING Steampunk Theatre created by the fantastic, talented, Linda Cain. You can view more photos and how-tos on Linda's post

Speaking of Linda, a few weeks ago she contacted me and asked if I would be interested in her designing some pieces using our Coffee Break Design goods. Being familiar with Linda's work, I jumped at the chance and sent out a box of goodies right away. You can see from the piece above, her projects have been outstanding. So I asked Linda if she would like to be a part of the permanent Design Team and to my delight she accepted! Welcome to the Design Team Linda - we are thrilled to have you! Stay tuned for more lovely work from Linda Cain!


Last week I released a few new goodies including these wonderful "Manikin" Articulated Dolls! I wanted to play with one right away so here is what I came up with...


The pieces come on a sheet that you punch out, so before punching out the pieces, I spray painted the front white, and the back pink. For quite some time I've wanted to try my hand at the art of Zentangle, so I wanted a white surface to work on. Gesso would work as well.


You can find some wonderful Zentangle inspiration on Pinterest. I checked out some patterns and then using a fine black Sharpie, went to town!


And here she is, my first Zentangle Female Manikin! I used Black Eyelets to attach the pieces once I Zentangled all my parts!


The new Manikins also inspired some more JUST RELEASED goodies! Like these Stand-Up Busts (Male and Female of course!)...


Stand-Up Hands (in 3 different styles)... and More!
Check out all of the NEW goodies HERE! I hope you are looking forward to 2013 as much as I am! xoxo